JUMP TO:
How To Make Easy Cheesy Kale Chips
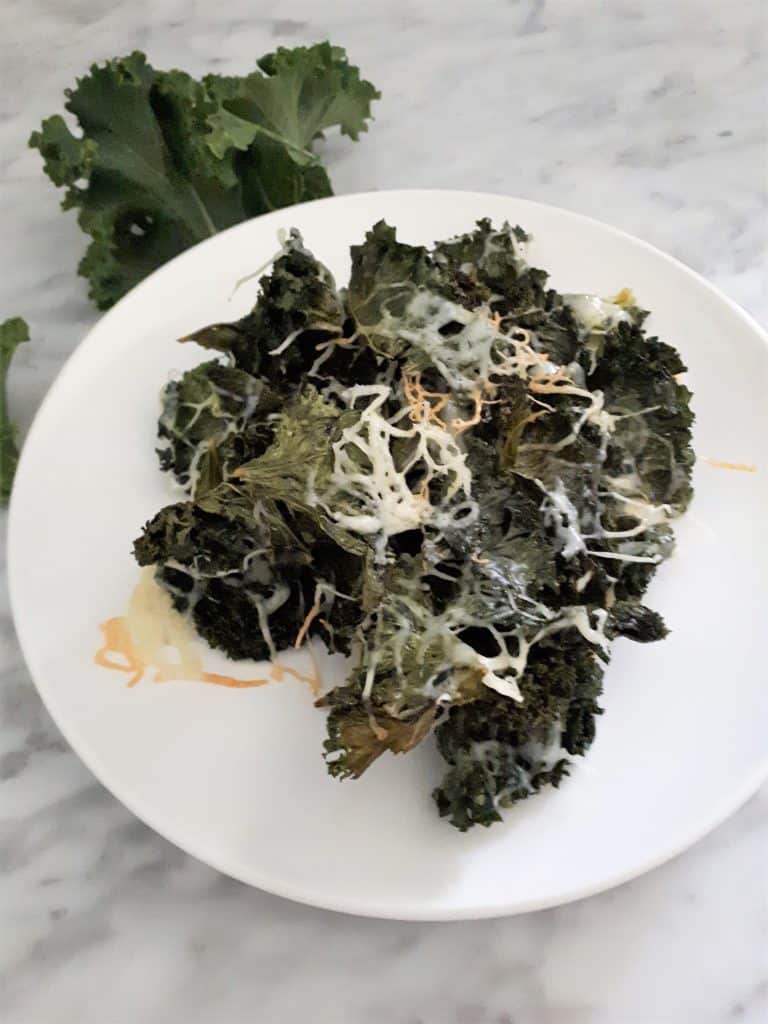
These Easy Cheesy Kale Chips are quick and easy to make and are the perfect healthy snack for when you need a crunchy treat! I have an endless supply of kale in my garden right now and I make a cookie sheet of these cheesy kale chips a couple times a week and my husband and teens eat them up in no time.
Ingredients For Making Easy Cheesy Kale Chips
- Freshly washed, rinsed and dried kale
- Oil of choice
- Salt
- Mozzarella, Parmesan or Cheddar Cheese
Directions For Making Easy Cheesy Kale Chips
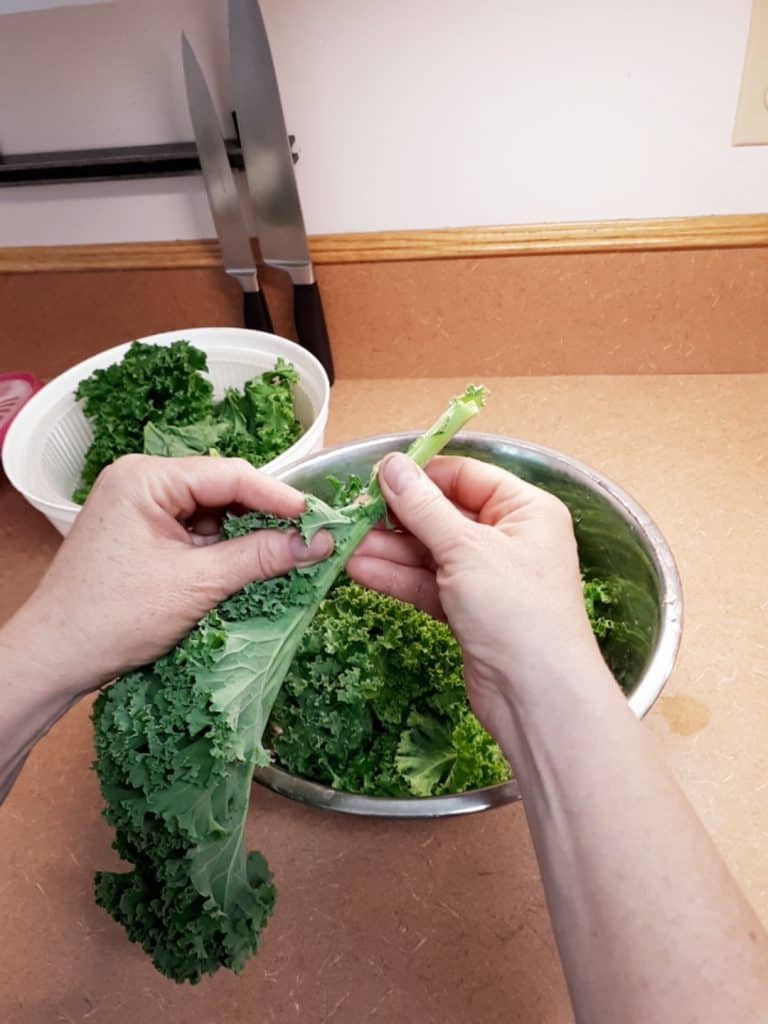
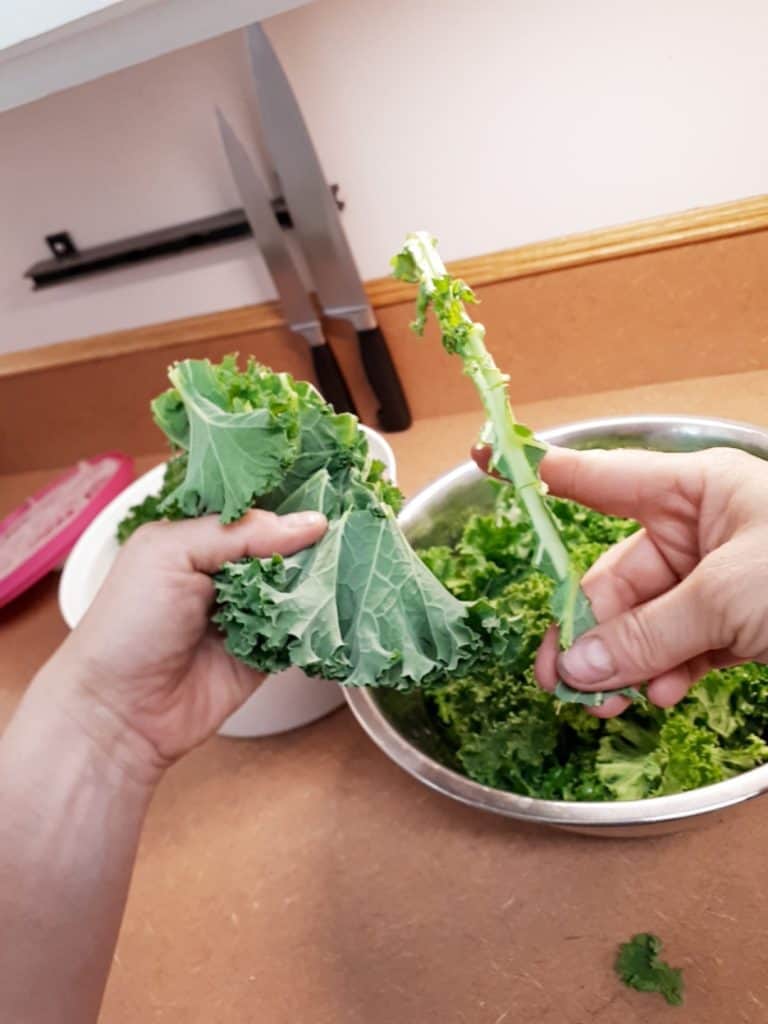
Step 1: Tear kale leaves from the stem and tear kale into large pieces
Below you can see how I tear the kale away from the tough stem so you only have the tender kale leaf. I start at the bottom of the kale stem and grab my kale leaves and tear down one side and then the other. I like to then tear the kale leaf into large sizes for baking. They do shrink a lot when cooked so you can experiment and see what size you like best for your kale chips.
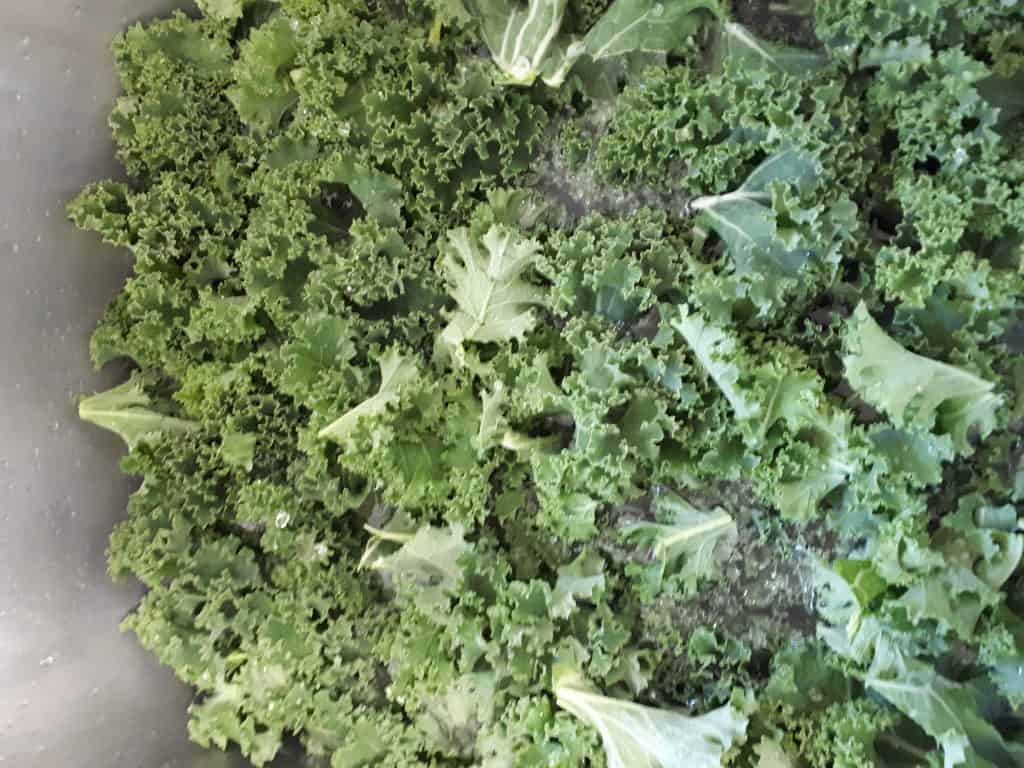
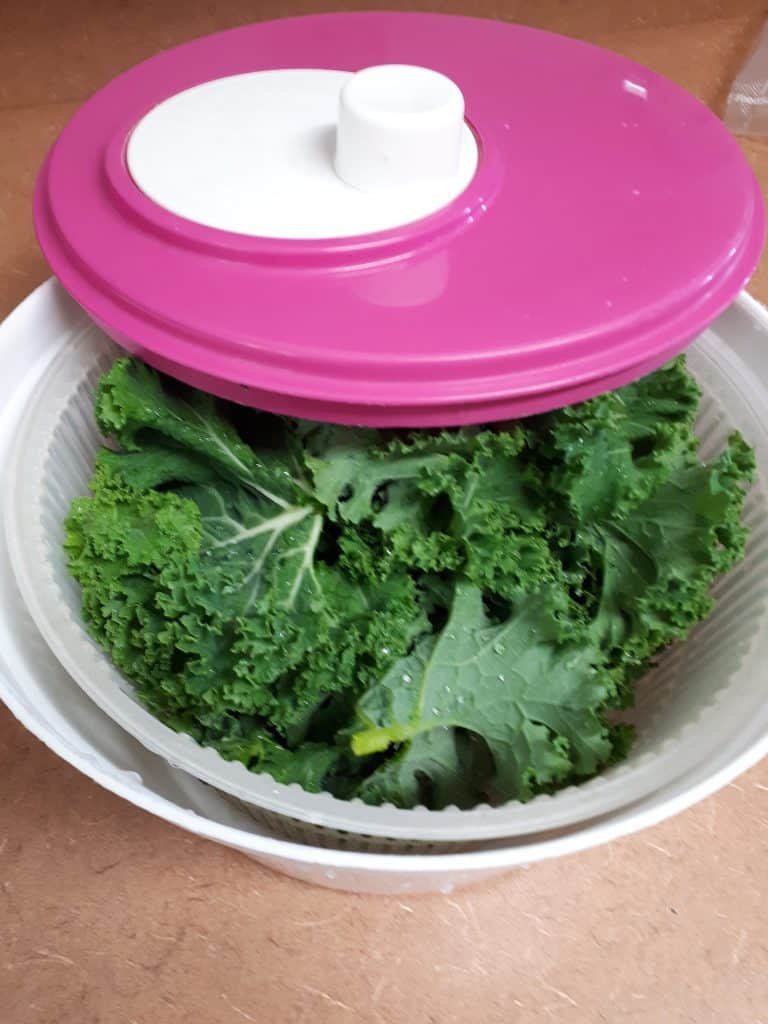
Step 2: Wash and spin your kale leaves dry
Fill your sink with some cold water so that you can place your kale leaves into it so they can be washed. Swish your leaves around so any dirt particles get washed off. I like to place my washed kale leaves into my salad spinner and spin out the excess water. Place the washed and torn pieces of kale into a big bowl. If the leaves still look like there is water droplets on it then you can take a paper towel and dab them dry.
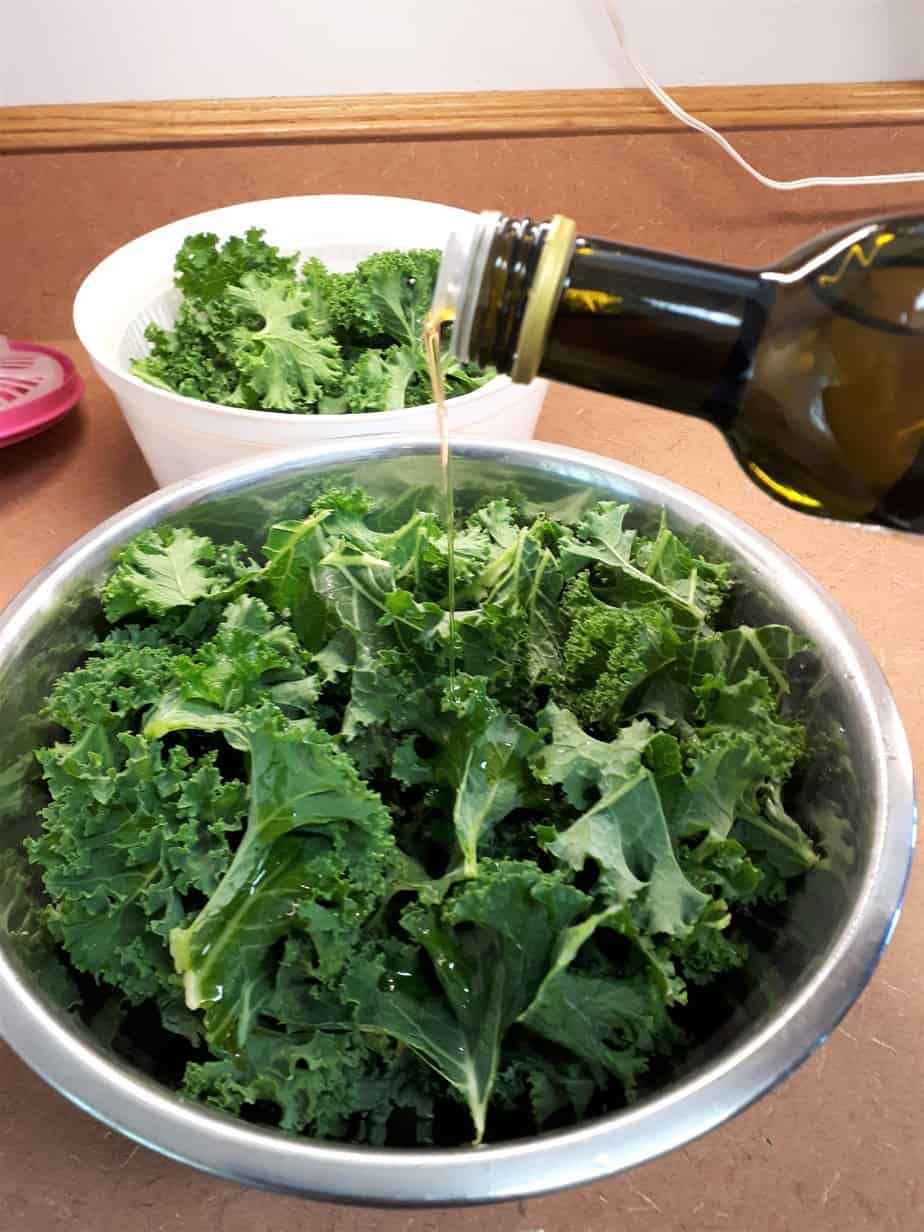
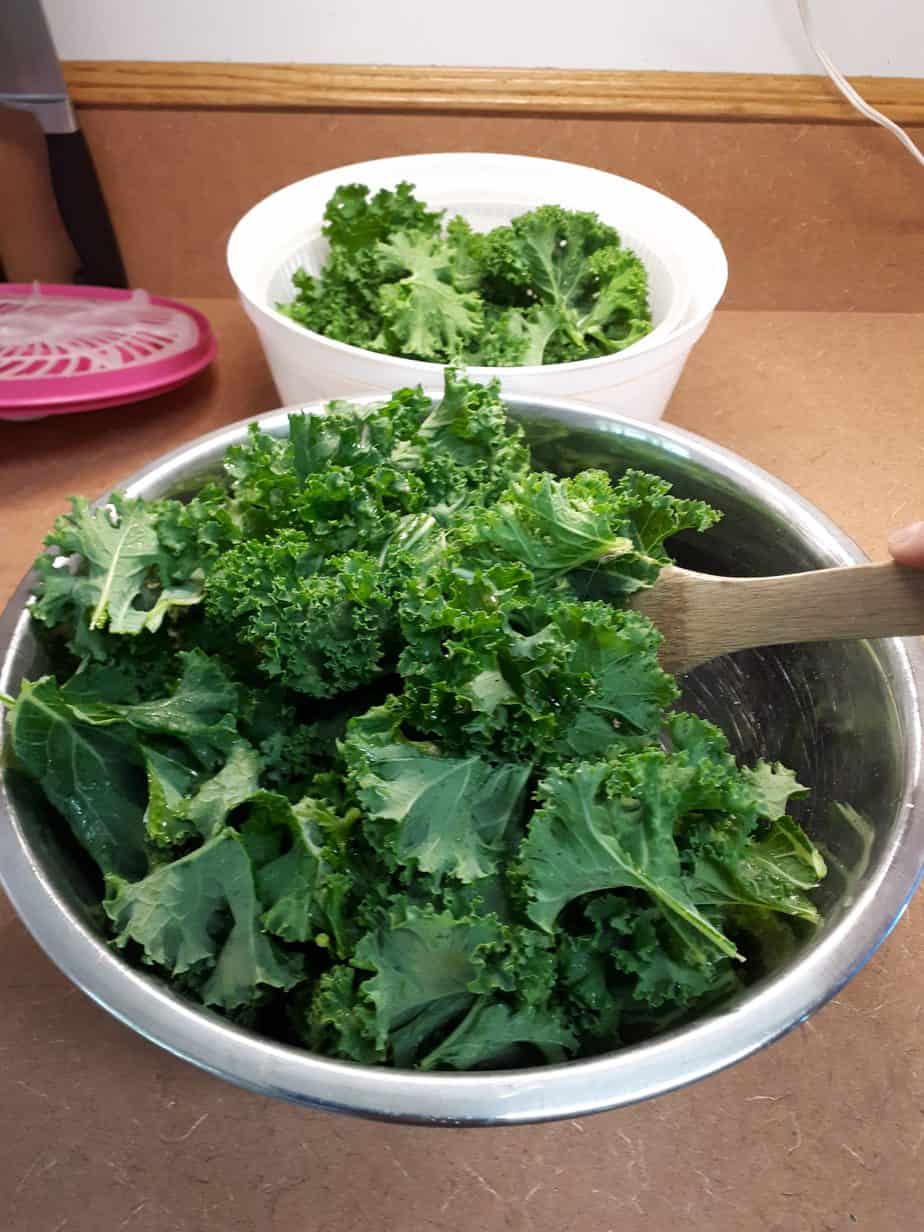
Step 3: Oil and season kale leaves
Next we are going to drizzle some oil on the leaves. I like to use olive oil but have used vegetable as well with the same results. I also like to sprinkle some salt on at this time. Stir your leaves around either with your hands or a spoon so that the oil and salt get onto the leaves. If it looks like you will need some more oil then add more as needed. You don’t want to drench your leaves in it and you don’t want your leaves to dry.
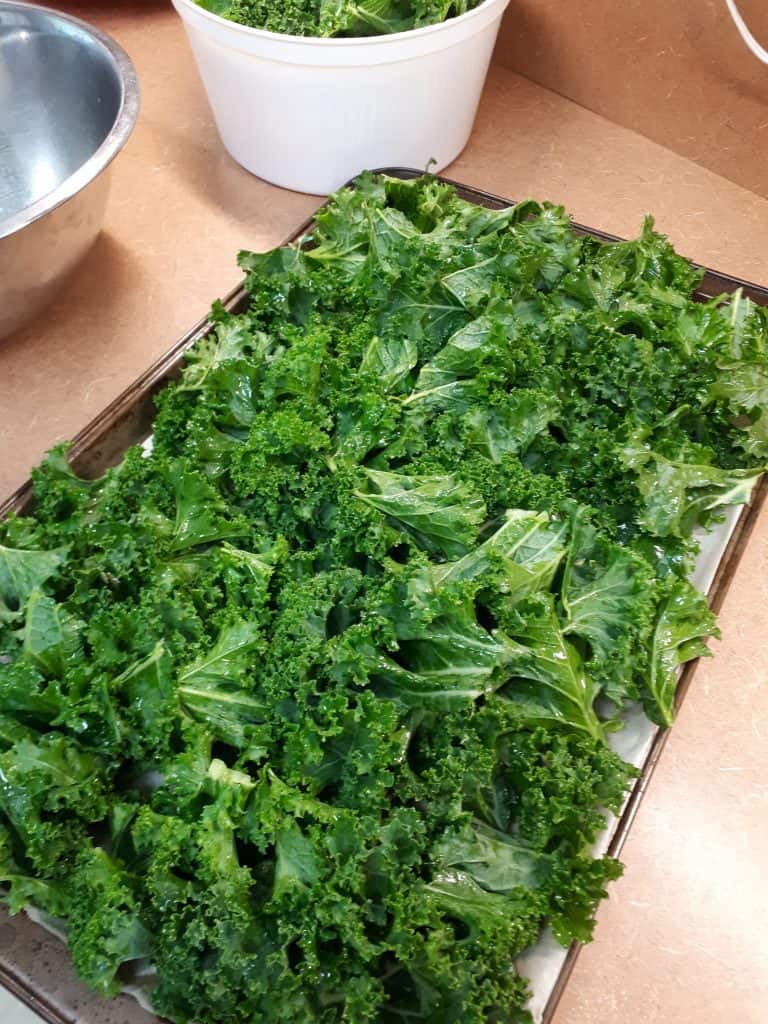
Step 4: Spread kale leaves onto baking sheet
Now that we have our kale leaves all coated with oil and salted we are going to spread them out onto our cookie sheet or tray. I like to line the tray with parchment paper especially when I am making the easy cheesy kale chip recipe. It helps save scraping off the cheese from the cookie sheet. Now it looks like a lot of kale but this pile will really shrink down a lot. You will see 😉
Step 5: Bake on low heat!
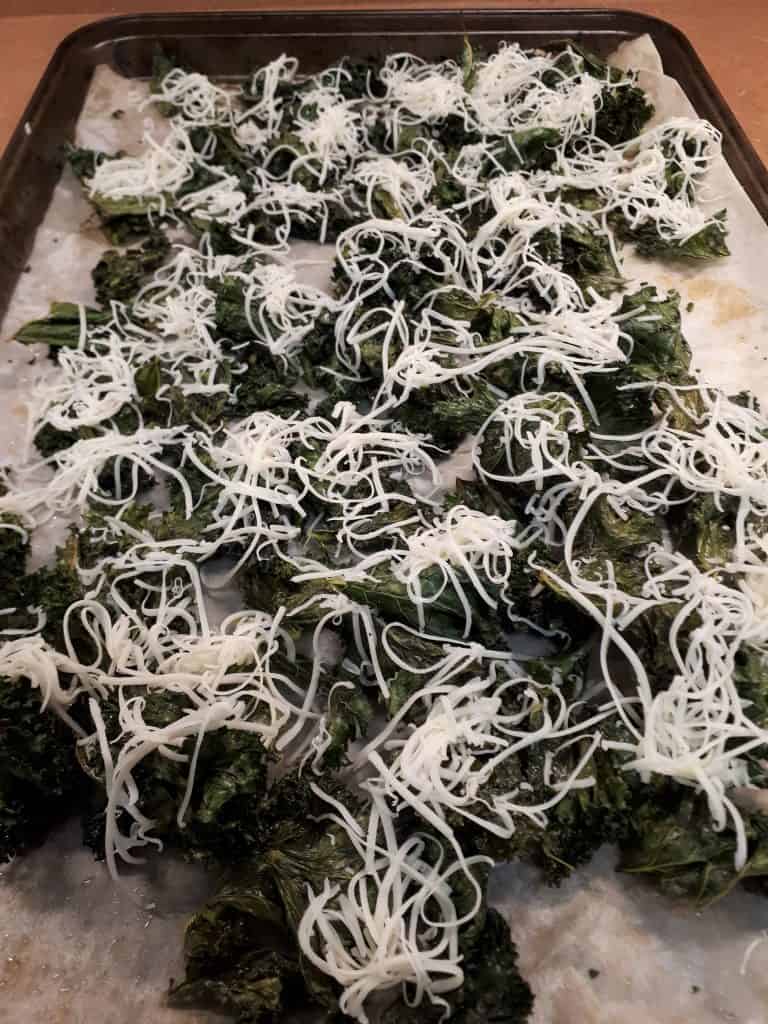
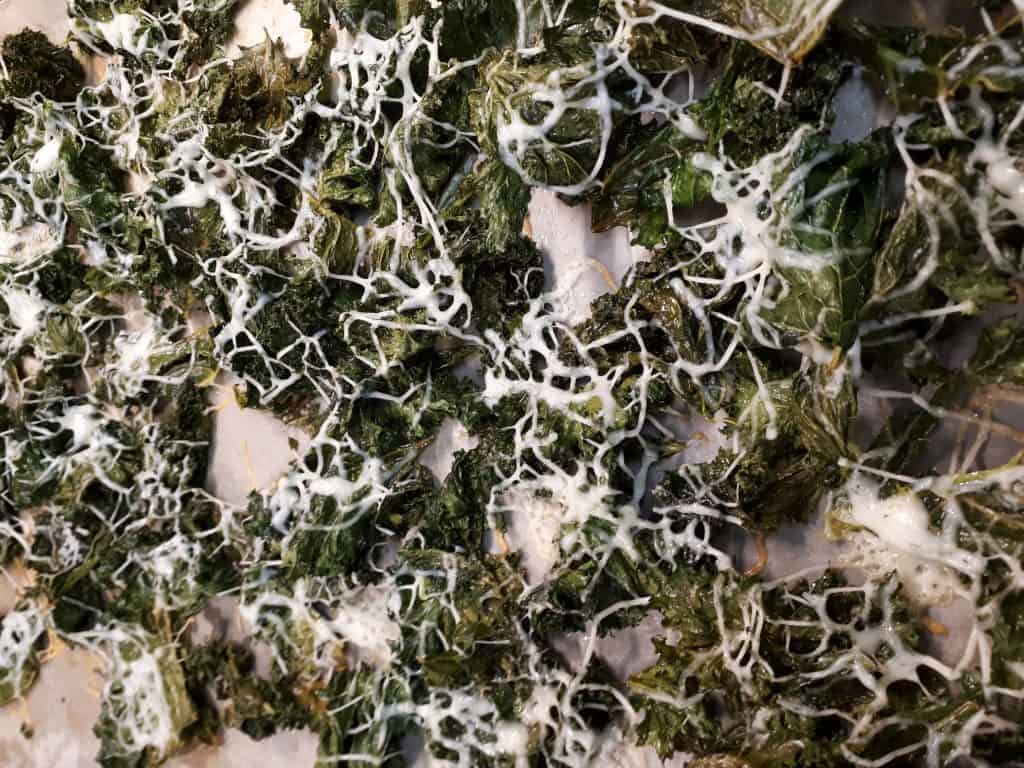
Yep I will say that again, you need to bake your kale chips on low heat or they will crisp up to quickly on the outside leaves leaving the rest of the kale still uncooked or they will just simply burn. I like to cook mine at 225 fahrenheit. I set my timer for 15 mins and when the bell rings I take out my cookie sheet of kale chips and stir them around. I place them back into the oven for another 15 mins to cook. I take them out again and sprinkle on my grated cheese of mozza. You can also add in some grated cheddar cheese if you have some. I then place the cookie sheet back into the oven and take it out when the cheese is nicely melted over the leaves.
Step 6: Cool and Enjoy!
You will want to let them cool down a bit before digging in! These really do not last long in my house. You will find that the these kale chips will have a crispy bite to them even with the melted cheese on them. And there you go Easy Cheesy Kale Chips. Enjoy!
How To Store Your Easy Cheesy Kale Chips
Once Your Cheesy Kale Chips are cooled you can transfer them to a big enough container to store them in. That is if there is any left once the family picks at them! I have stored mine in a large plastic container on the cupboard for up to 2 days and they are still nice and crispy.
Leave a Reply