You may be surprised to learn that you can grow kale indoors. I always grow lots of kale outside during our growing season but found we miss our fresh kale leaves during the winter so we have started to grow it inside during the winter months to use fresh in our salads and smoothies.
You too can learn how to grow kale indoors easily so you can enjoy the fresh, nutritious harvest of your own kale for daily eating.
JUMP TO:
- 1 How To Grow Kale Indoors
- 2 What variety of kale to grow indoors
- 3 How to start kale seeds indoors
- 4 How to plant kale seeds
- 5 How to transplant kale seedlings – Growing kale in pots
- 6 How to care for your kale plants indoors
- 7 How To Harvest Kale So It Keeps Growing
- 8 How to use kale grown indoors
- 9 FAQs About Growing Kale Indoors
- 9.1 How often to water your kale plants?
- 9.2 How many hours per day do your kale plants need under grow lights?
- 9.3 How deep of a pot do you need to grow kale indoors?
- 9.4 How Quickly Does Kale Grow?
- 9.5 How Long Will A Kale Plant Produce?
- 9.6 Can I transplant my kale grown indoors to outside?
- 9.7 Now you know everything there is on how to grow kale indoors like a pro!
- 9.8 Happy planting!
How To Grow Kale Indoors
In the article below you will learn everything you need on how to grow kale indoors from seed, the best places to grow kale, and how to harvest your kale.
What variety of kale to grow indoors
My favorite variety of kale to grow indoors is the dwarf varieties, especially the dwarf curly kale. It doesn’t get very big, stays compact not using much space, and is fast growing making it a great kale variety to grow inside. There may be different varieties of kale available in your area to try.
Here are a few more favorites to try:
Dwarf Siberian – A heavyset dwarf plant with bright blue-green leaves that are frilled.
Red Russian – Has flat leaves with pointy edges. Red Russian has a milder taste than most other kale varieties.
Starbor – A uniform compact plant that gets 12-18 inches tall. Dark blue-green curled leaves with short inter-nodes inside.
How to start kale seeds indoors
Starting kale seeds indoors is pretty easy. They are a great seed to start indoors even for beginner gardeners. Even if you plan to grow your kale outside I suggest starting the kale seeds indoors to get a few weeks’ heads start so you can start enjoying the harvest of baby kale sooner.
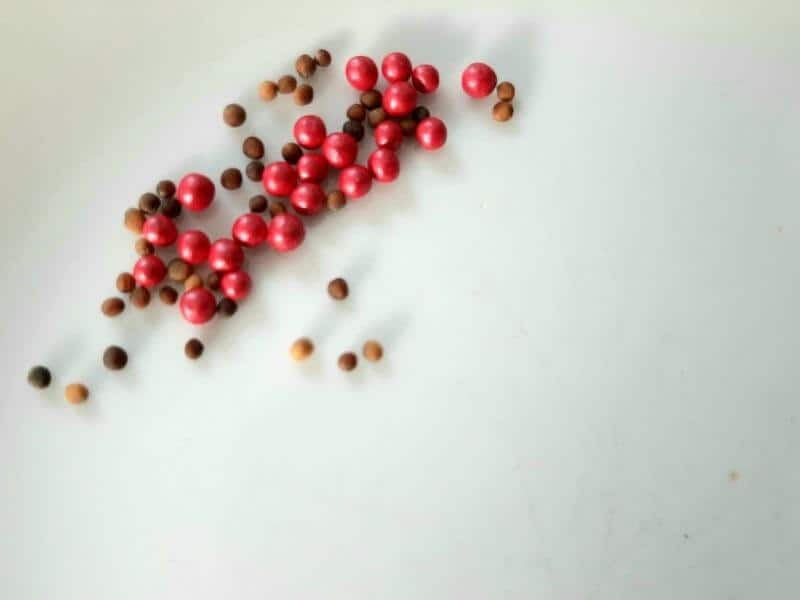
Assorted Kale Seeds
Here is a list of the supplies you will need to get before planting kale indoors.
This post contains affiliate links.
Supplies needed to grow kale indoors:
- Kale Seeds of choice
- Seed Tray or Potting Containers
- Larger containers for transplanting later
- Seed Starting Potting Mix
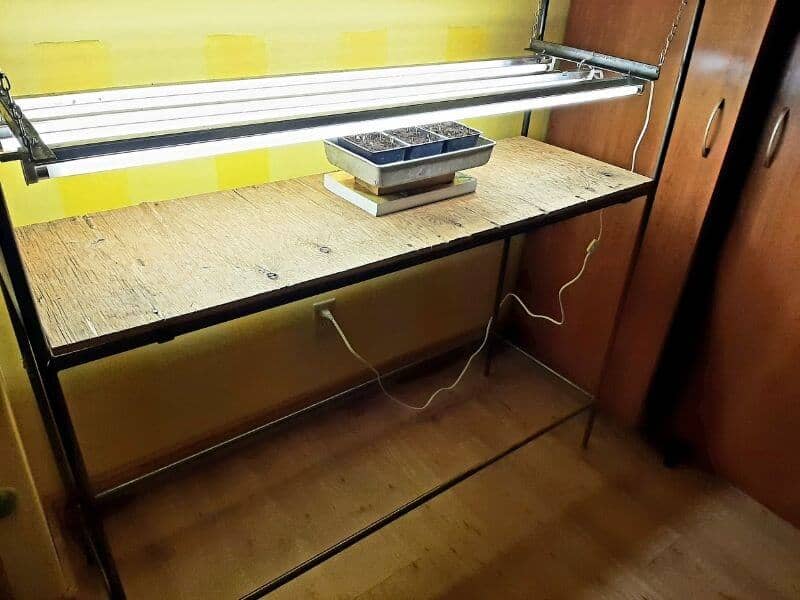
- Grow lights
- Water-Soluble Fertilizer
- Water
How to plant kale seeds
Step 1 – Premoisten the fertile soil before adding to trays. I have a 3-gallon pail that I put my soil mix into and then I start adding water and mix it around with my small garden trowel until it starts to clump together. You don’t want it soggy, just moistened.
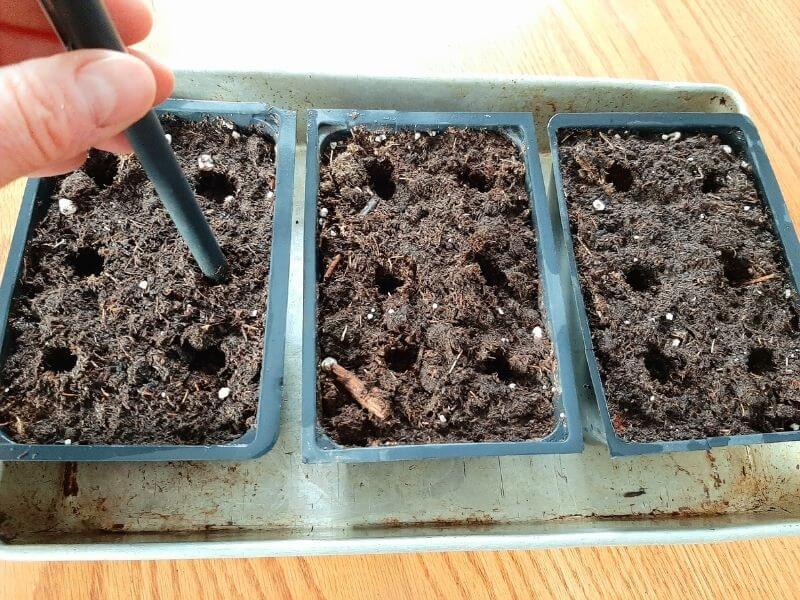
Step 2 – Fill your trays/containers with your premoistened soil mix. Lightly pack down the soil. Next, take the end of a pen or small stick and make a small dent into the top of the soil for your seed only pushing it down to about 1/4 inch deep.
- Make small holes 1/4 inch deep to drop seeds in
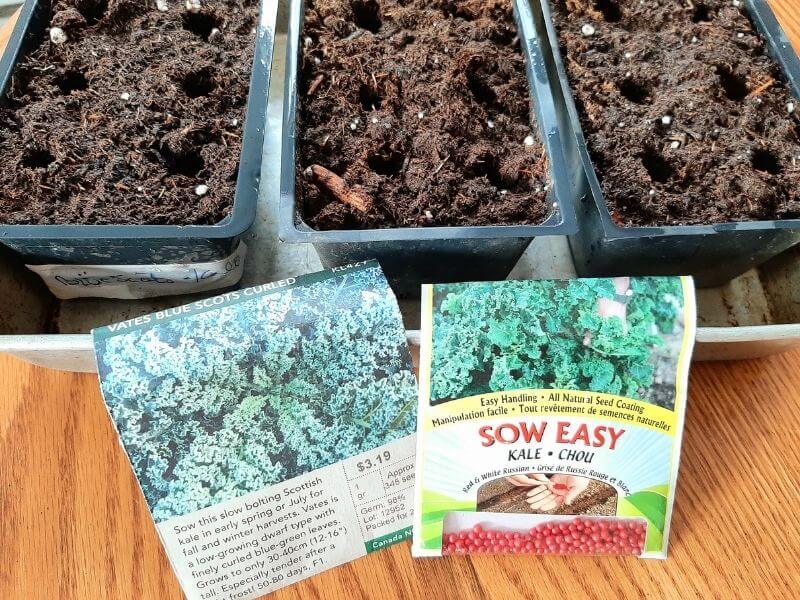
- Kale seeds to plant in ready made holes
Add your seed into the dent that you have just made in your soil. If you are using trays with small cells then you will only want to add one kale seed to each cell. If you are using larger-sized containers or cells then add a couple more accordingly but don’t overcrowd as your kale seedlings’ roots will get tangled, and you will risk breaking the roots when going to transplant.
After your seeds have been added gently push some of the soil back over the hole to cover your seeds.
Step 3 – Lightly water or spray your trays evenly until you have moist soil only if your soil feels as though it needs a bit more moisture.
Step 4 – Cover your trays with the clear plastic dome that they came with and place them in a sunny window. If you do not have a dome to cover with you can use a plastic bag. You will want to keep them in an area where the temperature is between 65 – 70 degrees.
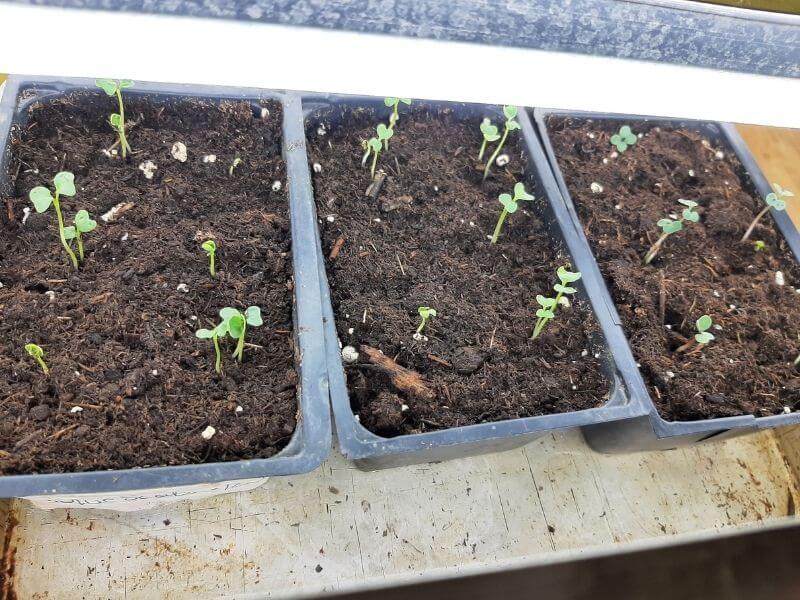
Remove the cover once the kale leaves have started to pop up out of the soil. Leaving your cover on too long may rot your seedlings.
Step 5 – Keep your kale trays in a bright south-facing window so they get 5-6 hours of direct sunlight. If you are not getting enough sunlight during the winter months you should use a grow light over them to keep them from getting leggy.
Make sure your kale plants don’t get too much heat or they may wilt. They like the sun but prefer the cool temperatures better.
Water your kale seedlings regularly and don’t let them dry out. You can fertilize the kale with a weakened solution of water-soluble fertilizer after a couple of weeks of growth to help them out and keep them healthy and green.
How to transplant kale seedlings – Growing kale in pots
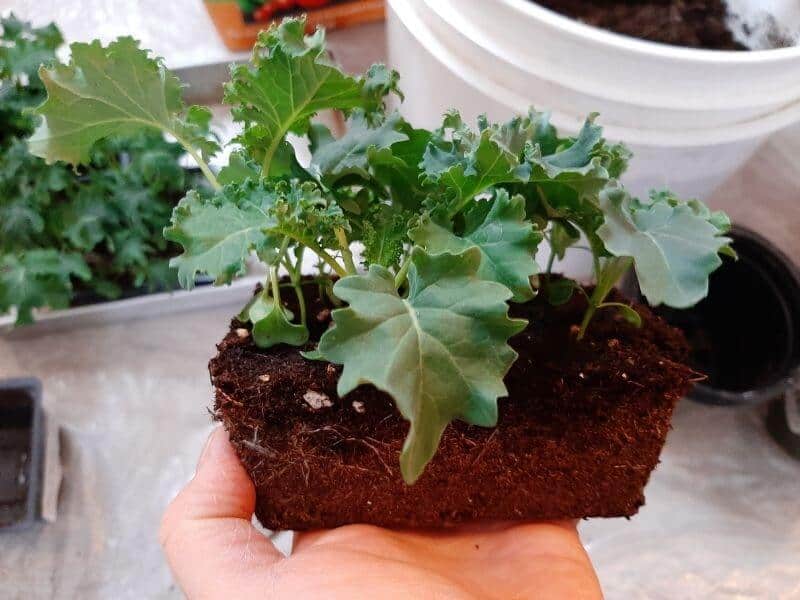
Your kale plants will need to be transplanted into larger pots in a couple of weeks when they reach a couple of inches in height. This is needed to keep your kale plant growing. The kale plant will stay small if it does not get enough room to grow.
Gather your larger containers and fill 3/4 full with your premoistened soil. If you have some organic slow-release granular fertilizer you can add a couple of teaspoons into your dirt before adding your transplanted kale seedling.
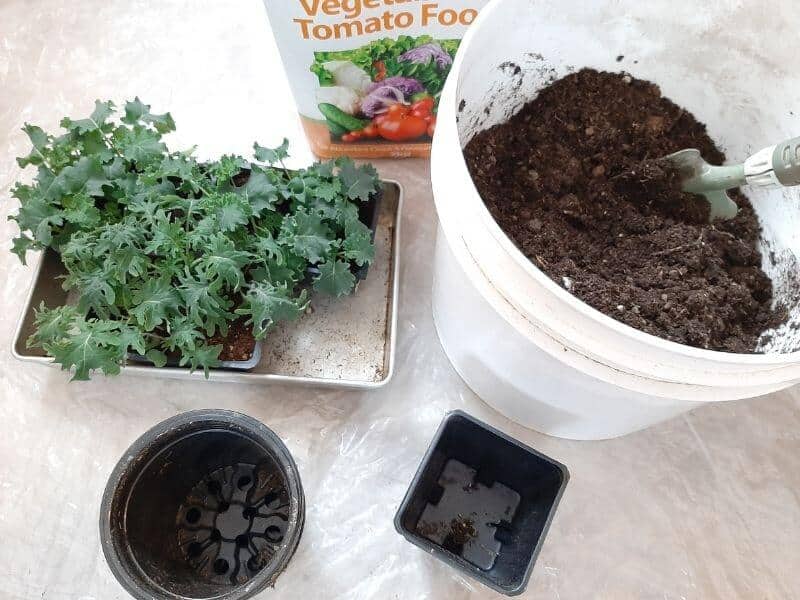
Getting Ready To Transplant Kale Plants
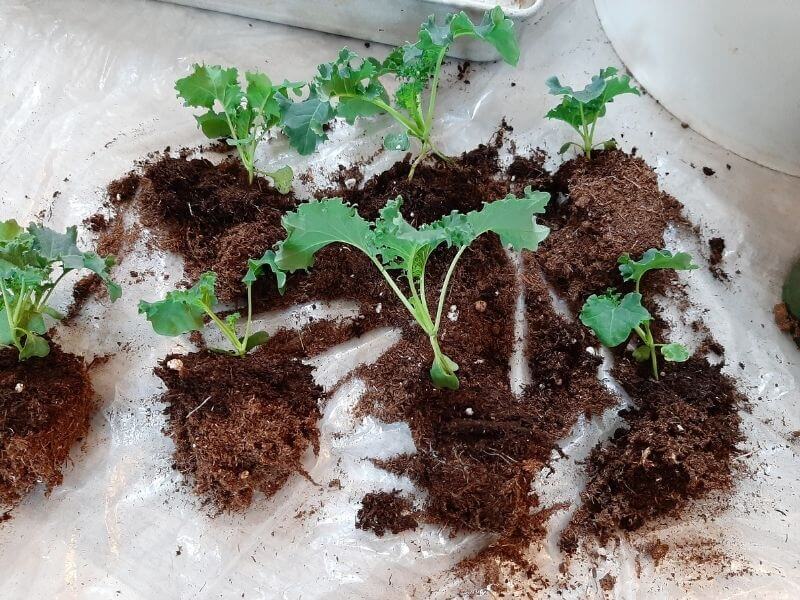
Gently remove your kale seedling from its original potted container and place it into its new larger pot. Fill it up with more soil if needed and gently press the soil down around the stem of the kale.
- Dividing up and transplanting kale plants
Give your kale plants another drink of water if the soil needs it. Be sure to have a tray under these newly potted plants to catch any possible water draining through there may be.
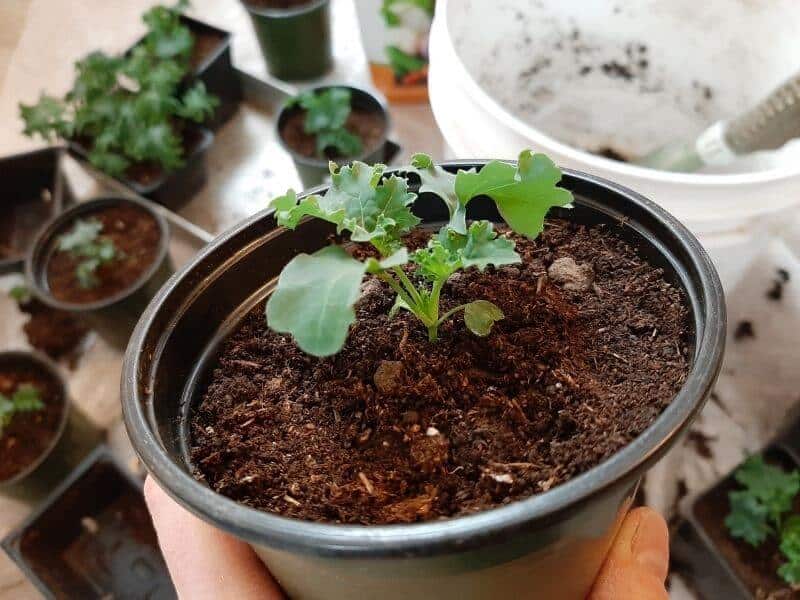
Newly Transplanted Kale Plant
How to care for your kale plants indoors
Once your kale plants are transplanted and fertilized into their new pots place them back into a sunny location for natural light or back under the grow lights. For the most part, my kale plants stay under my grow lights.
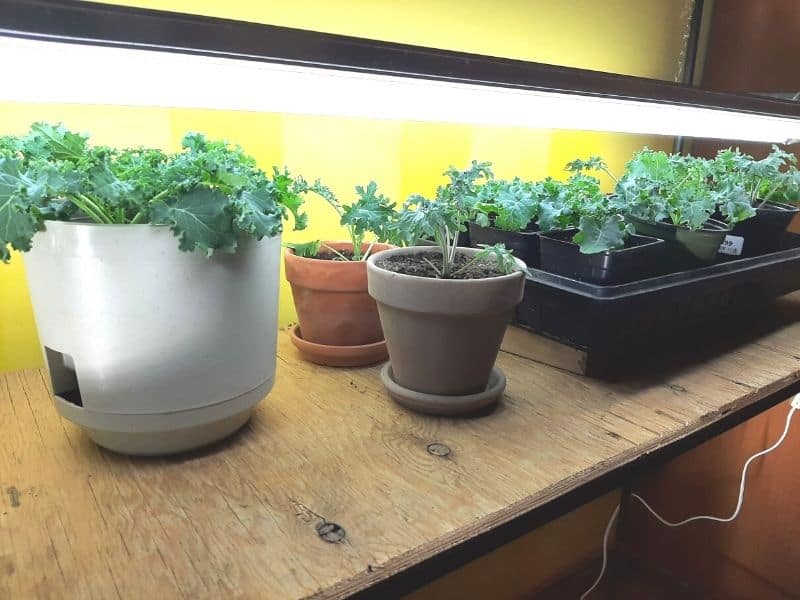
Transplanted Kale Growing Inside Under Grow Lights
During January we don’t get much sun but a lot of cloudy days. In February we get more sun so I do tend to take my kale pots and place them around the house where they will get some natural full sun and back under the lights when there are days of cloudiness.
Keep your kale plants well-watered and do not let them dry out. Kale plants are fast growers and feeders so will need to be fertilized every 10 – 12 days.
You will keep up this routine of care while growing and harvesting your kale plants.
How To Harvest Kale So It Keeps Growing
-
- Select the bottom outer leaves of your kale plant. You do not want to cut from the top or middle of your kale plant. This is where the kale puts its energy into new growth.
- It is best to use scissors or a small pruning tool to remove the lower leaves, especially when your plant is smaller. If the stems are tender enough you can try pinching them off but make sure not to be pulling your plant so hard you are pulling up the whole plant.
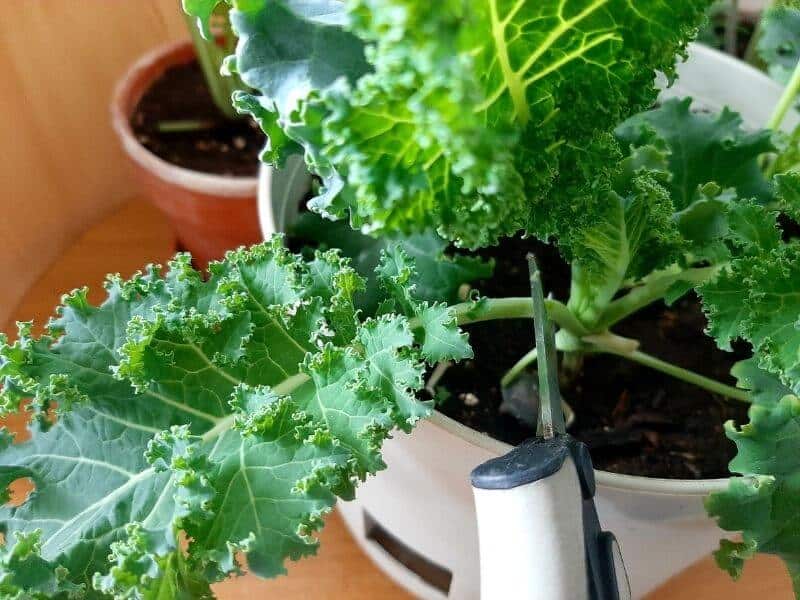
Harvesting Bottom Kale Leaves
These are my favorite small pruners for getting into small spaces to carefully cut or prune stems.
- Be sure to leave at least 4 kale leaves on your plant. Over pruning can risk shocking your plant and it could take it a while to grow back.
- Rinse your freshly picked kale leaves and enjoy raw or cooked in your favorite dish.
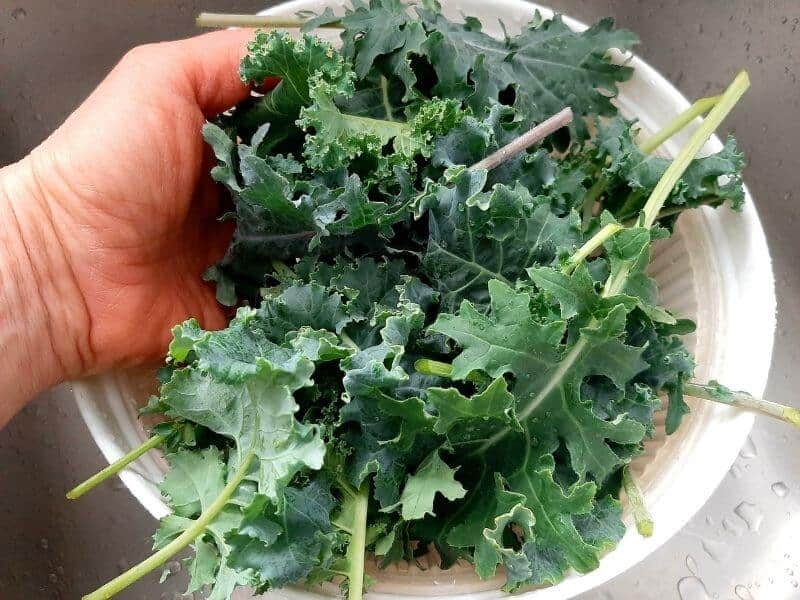
Freshly Harvested Kale Leaves Grown Indoors
How to use kale grown indoors
Freshly picked baby kale has tender leaves that can be enjoyed raw in salads or tossed into your morning smoothies.
You can let the leaves grow larger and harvest them to use in your favorite stir-fries, soups, or to make yummy crispy kale chips.
Related: How To Make Cheesy Kale Chips
Follow these steps for growing kale and you will have a continuous harvest of fresh kale for months.
FAQs About Growing Kale Indoors
How often to water your kale plants?
You will need to keep your kale plants damp by regular watering. They do not like to be dry and you find they will wilt if they are left to dry out.
How many hours per day do your kale plants need under grow lights?
Your kale plants will do best with 6 – 8 hours of light under the grow lights.
How deep of a pot do you need to grow kale indoors?
Any wheres from 8-12 inches is ideal to accommodate the roots for growing kale indoors.
How Quickly Does Kale Grow?
Kale grows quite fast and you can start harvesting baby kale leaves within 4 weeks of planting.
How Long Will A Kale Plant Produce?
A kale plant will keep producing for a long time if looked after properly. I have been growing kale indoors for a while but I tend to transplant my mature plants outside in the spring so I will keep you updated on how long they produce indoors. Of course, if you are planting and keeping your kale plant outdoors there are different factors that will determine how long it will keep producing.
Depending on what zone you live in will also determine how long your kale plant will continue to grow and produce for you. I live in a 4b climate where I have a shorter growing season so by the end of September my kale plants tend to slow down in production.
But generally, kale plants keep producing for many months with multiple harvests.
Can I transplant my kale grown indoors to outside?
Yes, you most certainly can! After your last frost in your area, place your kale plants outside for a little bit each day to get hardened off and then transplant them into their permanent home.
Now you know everything there is on how to grow kale indoors like a pro!
Happy planting!
Don’t forget to pin this post to your favorite gardening board so that you can come back to it when you are ready to start growing kale indoors or outside!
Leave a Reply